


Installing a Slip Lock Misting Nozzle on a misting bar is a relatively straightforward process that can significantly enhance the functionality and efficiency of your misting system. As a supplier of high - quality Slip Lock Misting Nozzles, I am here to guide you through the step - by - step installation process.
Understanding the Slip Lock Misting Nozzle
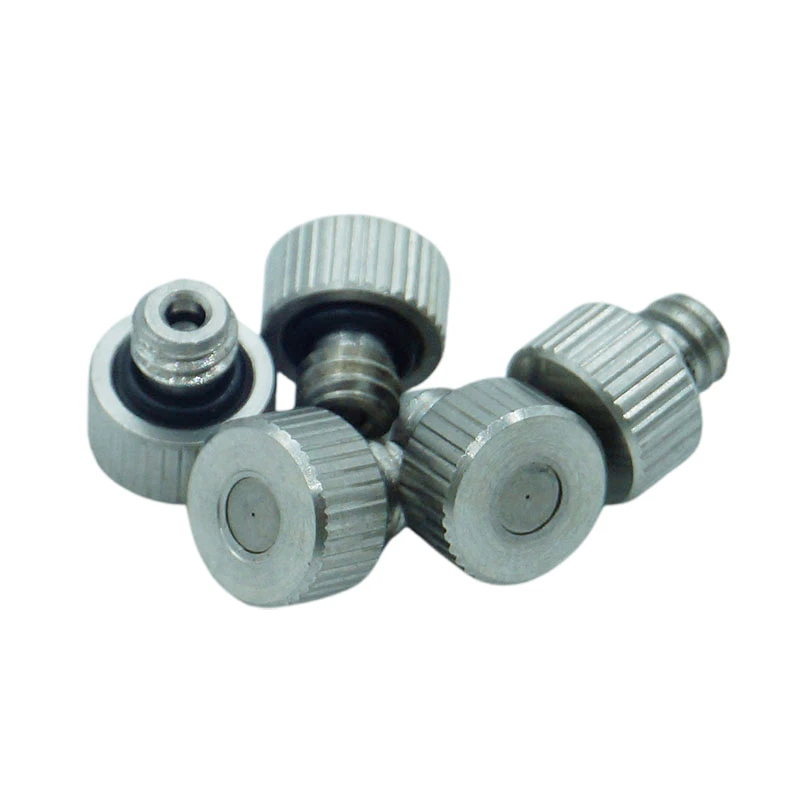
Before we start the installation, it's important to understand what a Slip Lock Misting Nozzle is. A Slip Lock Misting Nozzle is a type of Slip Lock Misting Nozzle designed for low - pressure misting systems. It features a unique slip - lock mechanism that allows for easy and secure attachment to the misting bar. These nozzles are known for their fine mist production, which is ideal for cooling outdoor areas, humidifying indoor spaces, or for use in various industrial applications.
Tools and Materials Required
To install a Slip Lock Misting Nozzle on a misting bar, you will need the following tools and materials:
- Slip Lock Misting Nozzles: Make sure you have the right number of nozzles based on your misting requirements.
- Misting Bar: This is the main component where the nozzles will be attached.
- Pipe Cutter (Optional): If you need to cut the misting bar to the desired length.
- Teflon Tape: To ensure a tight seal and prevent leaks.
- Wrench: A simple adjustable wrench can be used to tighten the connections if necessary.
Step 1: Prepare the Misting Bar
The first step in the installation process is to prepare the misting bar. If the misting bar is too long, use a pipe cutter to cut it to the appropriate length. Make sure to measure accurately to ensure that the nozzles will be evenly spaced along the bar.
Once the misting bar is cut to the right length, clean the ends of the bar to remove any debris or burrs. This will help ensure a proper seal when the nozzles are attached.
Step 2: Apply Teflon Tape
Teflon tape is an essential component in preventing leaks in your misting system. Wrap the Teflon tape around the threads of the misting bar where the nozzles will be attached. Make sure to wrap the tape in a clockwise direction, starting from the end of the thread. Wrap the tape tightly, but not too tightly that it becomes difficult to attach the nozzles.
Step 3: Attach the Slip Lock Misting Nozzles
Now it's time to attach the Slip Lock Misting Nozzles to the misting bar. Take a Slip Lock Misting Nozzle and align it with the hole on the misting bar. Insert the nozzle into the hole and gently push it in until it is fully seated.
The slip - lock mechanism of the nozzle will engage with the misting bar, providing a secure connection. If necessary, use a wrench to gently tighten the nozzle to ensure a proper seal. However, be careful not to over - tighten, as this can damage the nozzle or the misting bar.
Step 4: Space the Nozzles Evenly
Once the first nozzle is attached, space the remaining nozzles evenly along the misting bar. The spacing between the nozzles will depend on your specific misting requirements. For general cooling applications, a spacing of 6 - 12 inches between nozzles is recommended.
Repeat the process of applying Teflon tape and attaching the nozzles until all the desired nozzles are installed on the misting bar.
Step 5: Test the Misting System
After all the nozzles are attached, it's time to test the misting system. Connect the misting bar to your water supply and turn on the water. Check for any leaks around the nozzles or the connections. If you notice any leaks, turn off the water and tighten the connections or re - apply the Teflon tape as needed.
Observe the mist produced by the nozzles. The mist should be fine and evenly distributed. If the mist is not satisfactory, check the nozzles for blockages or make sure that the water pressure is within the recommended range for the Slip Lock Misting Nozzles.

Troubleshooting Tips
- Leaks: If you experience leaks around the nozzles, check the Teflon tape. Make sure it is wrapped correctly and tightly. You may also need to tighten the connections using a wrench.
- Clogged Nozzles: If the mist is not coming out properly or is uneven, the nozzles may be clogged. Remove the nozzles and soak them in a solution of vinegar and water for a few hours. Then, use a small brush to clean the nozzle holes and re - install the nozzles.
- Low Water Pressure: If the mist is weak or not being produced at all, check the water pressure. Make sure that the water supply can provide the required pressure for the Slip Lock Misting Nozzles. You may need to install a booster pump if the water pressure is too low.
Other Types of Misting Nozzles
While Slip Lock Misting Nozzles are a popular choice for many applications, there are other types of misting nozzles available in the market. For example, Misting Nozzle Thread Low Pressure nozzles are another option for low - pressure misting systems. These nozzles are attached using threaded connections and are known for their durability and reliability.
Fan Spray Nozzles are also a great choice if you need a wider spray pattern. They are often used in applications where a large area needs to be covered with mist, such as in greenhouses or large outdoor events.
Conclusion
Installing a Slip Lock Misting Nozzle on a misting bar is a simple process that can be completed with basic tools and materials. By following the steps outlined in this guide, you can ensure a successful installation and enjoy the benefits of a well - functioning misting system.
If you are interested in purchasing Slip Lock Misting Nozzles or have any questions about our products, please feel free to contact us for more information and to discuss your procurement needs. We are committed to providing high - quality misting solutions and excellent customer service.
References
- "Misting System Installation Guide" - General industry guide on misting system installation.
- "Types of Misting Nozzles and Their Applications" - A technical document on different types of misting nozzles.


